
Today we are going to install TrueNas in VirtualBox. Initially the plan was to use for database storage on a Failover Cluester Manager environment, but I managed to share disks in a different way.
Since I already created this “How to”, I’ll leave in case someone needs it.
TrueNAS software can be downloaded from here.
STEPS:
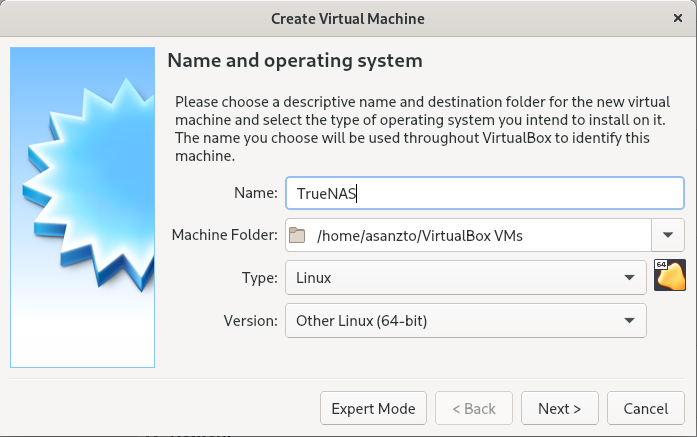
1:- Click on NEW and give the name of the machine and select the type.
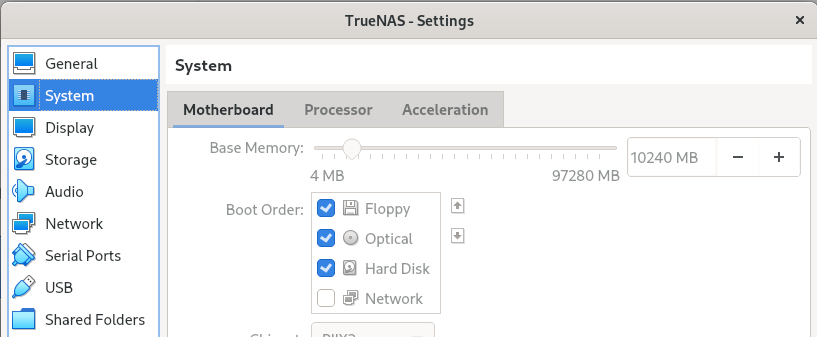
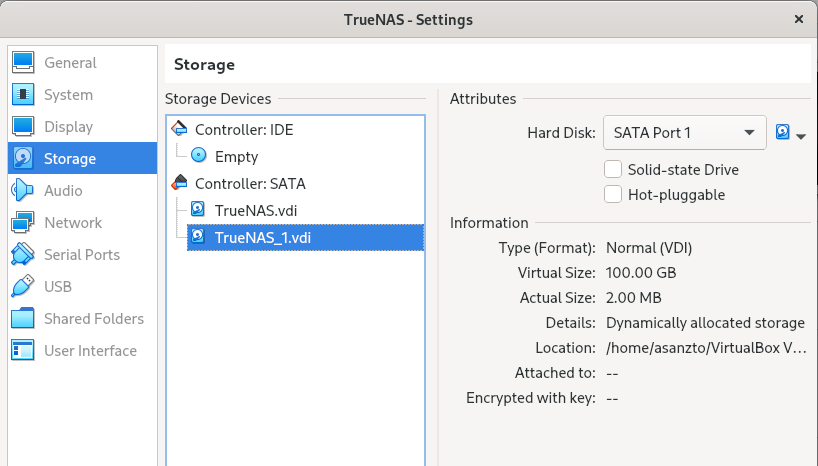
2:- Create with 10G of memory and an extra 100G drive to storage data:
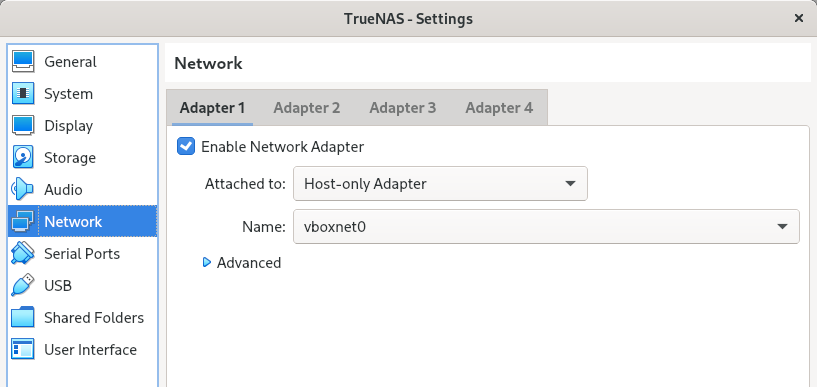
3:- Network:
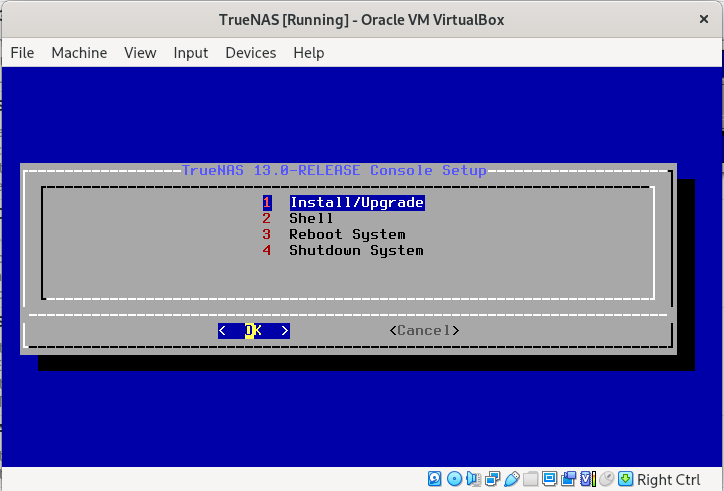
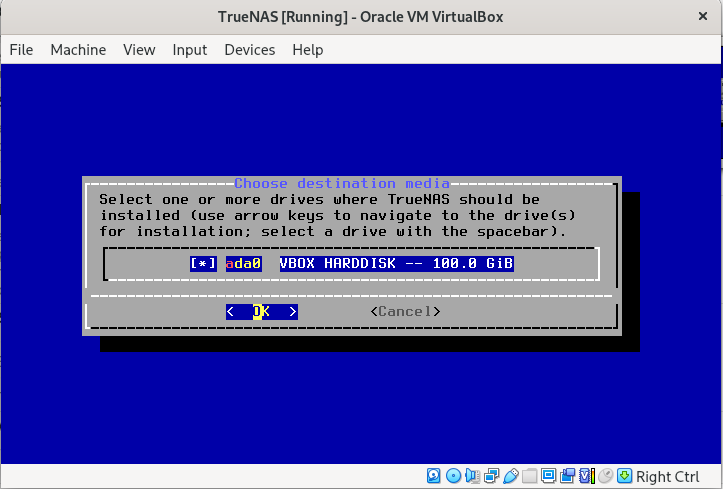
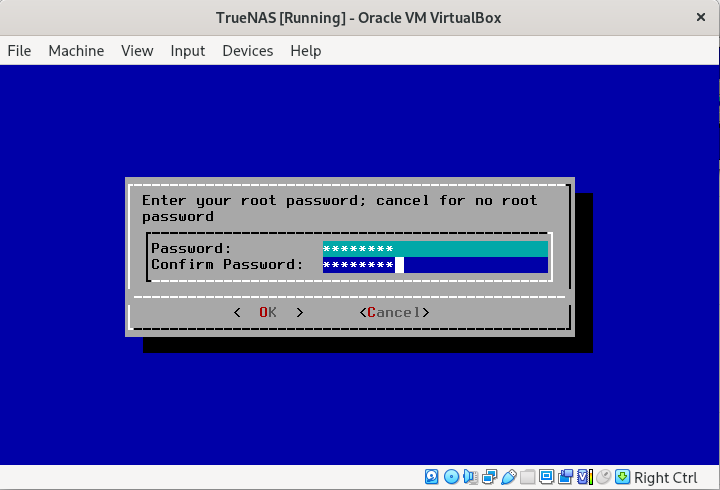
4:- Start VM with the installation ISO and perform and install:
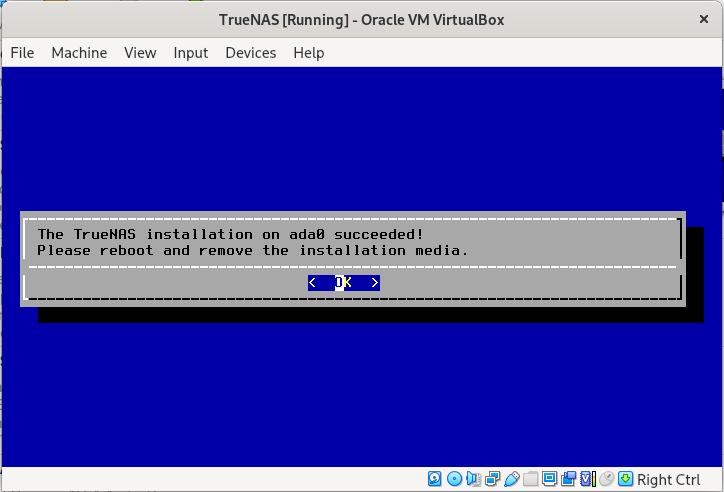
5:- Remove Install drive from VirtualBox and Restart VM:
http://192.168.56.108
https://192.168.56.108
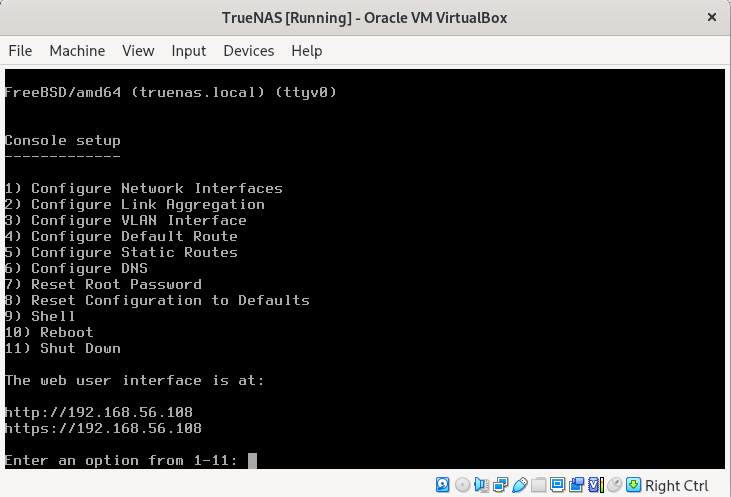
6:- Access via GUI and use root account (password set during installation)

7:- We need to set static IP:
How to assign a static IP to TrueNAS:

    1.  Open the web console and go to the setting and select the shell.
    2.  Once the shell is open enter /etc/netcli
    3.  From the menu select the first option “Configure Network Interfaces”
    4.  It will ask you to select the interface select the default interface
    5.  Now it will ask if you want to delete the interface and hit “n”
    6.  It will ask if you want to remove the current setting from the interface hit “n”
    7.  It will ask if you want to set up using DHCP select “n”
    8.  Now it will ask if you want to configure the IPv4 select yes by hitting “y”
    9.  It will ask for the interface name let it be default hit enter
    10. Now you need to add an IPv4 address and select an address from your network that is not in use
    11. Now it will ask for the netmask select 255.255.255.0
    12. It will ask if you want to set up the IPv6 hit “n” and it will restart the machine and try to connect the machine to the new IP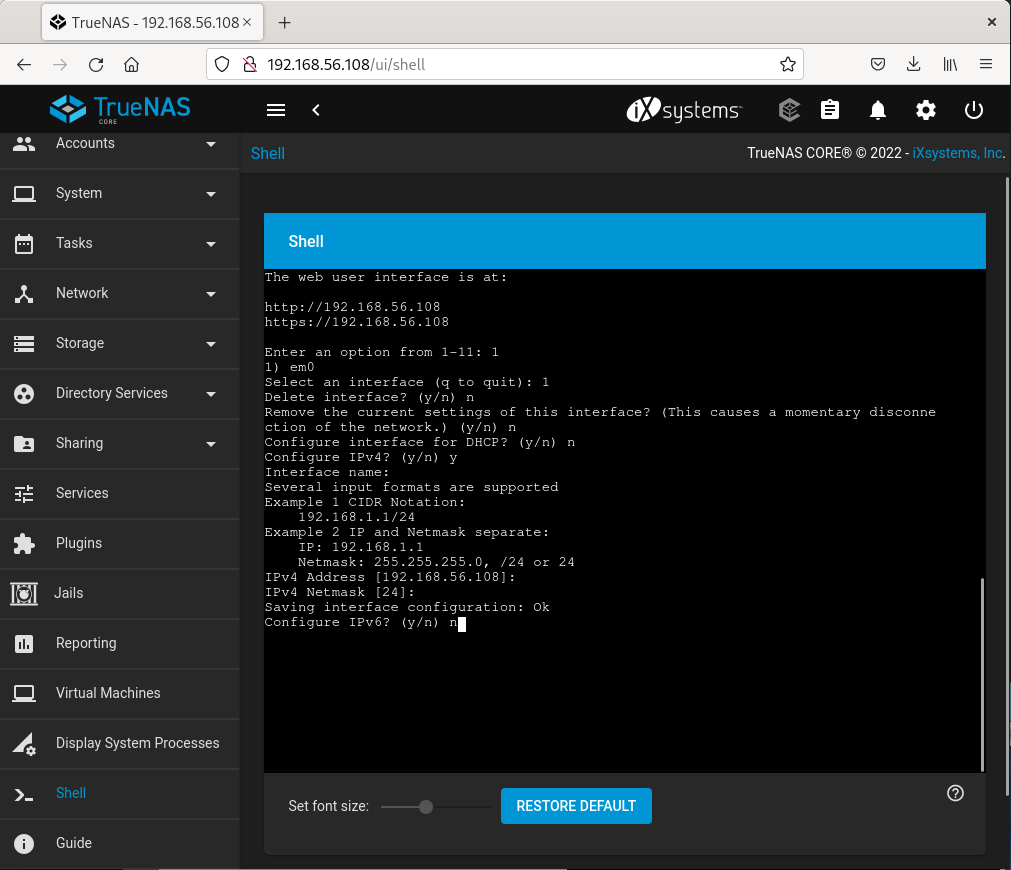
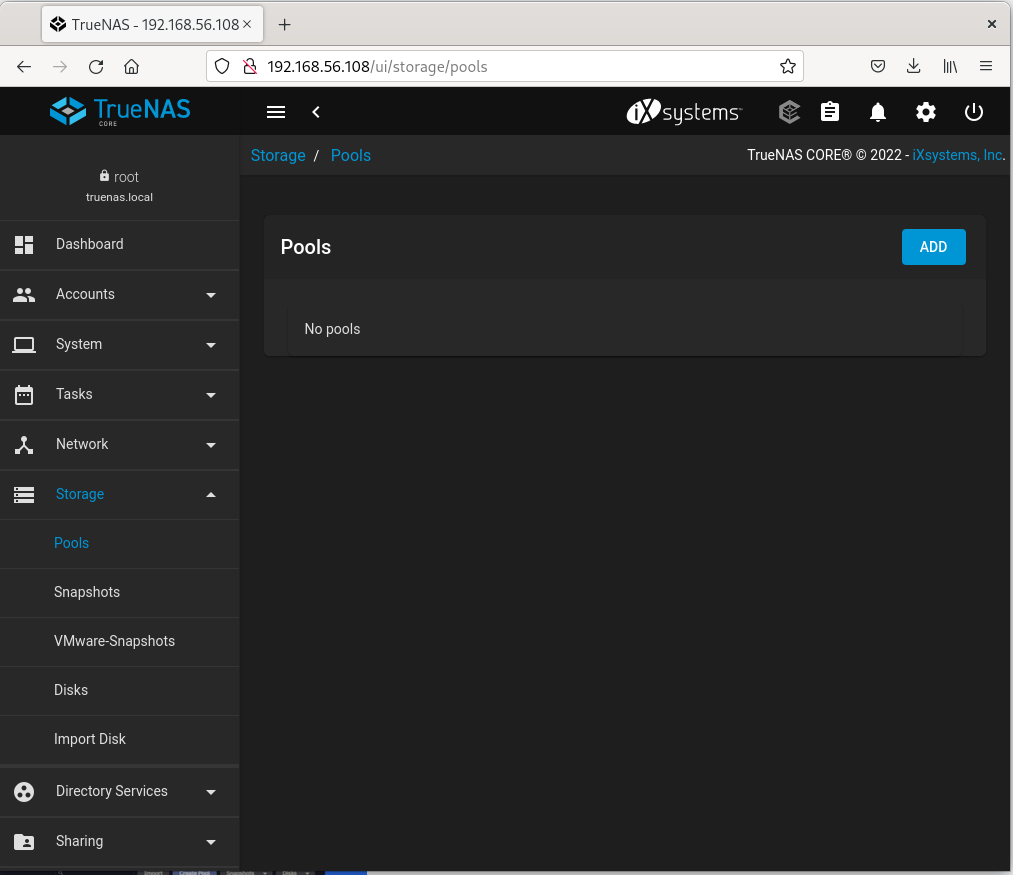
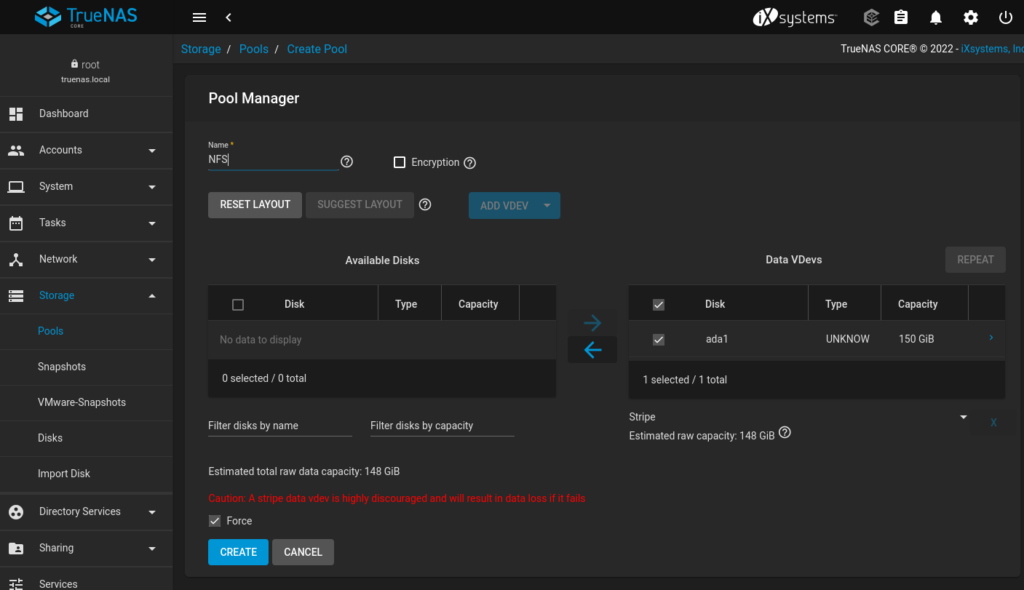
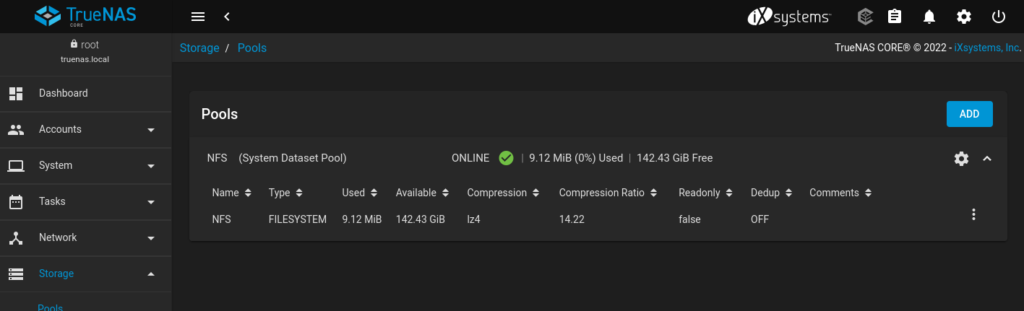
8:- Create a POOL:

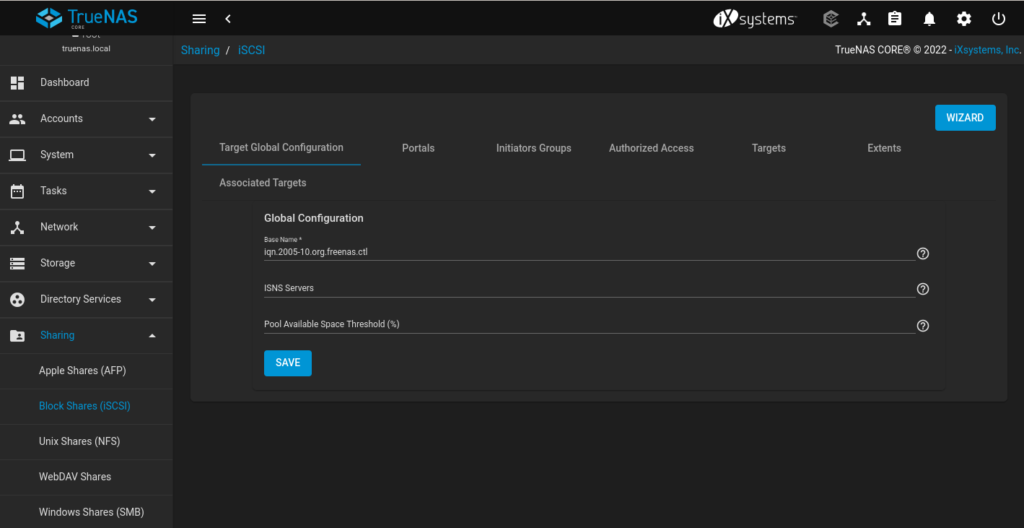
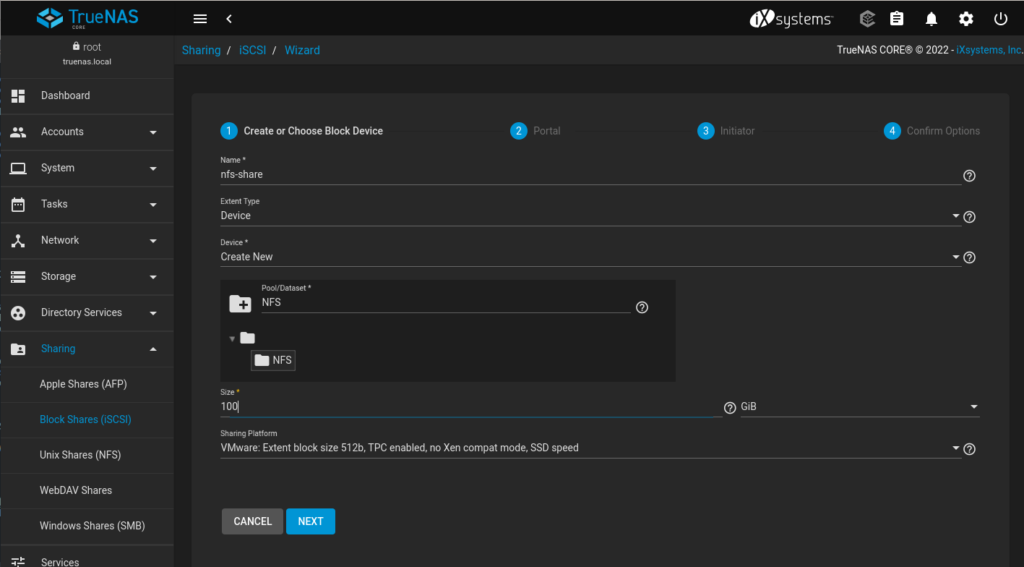
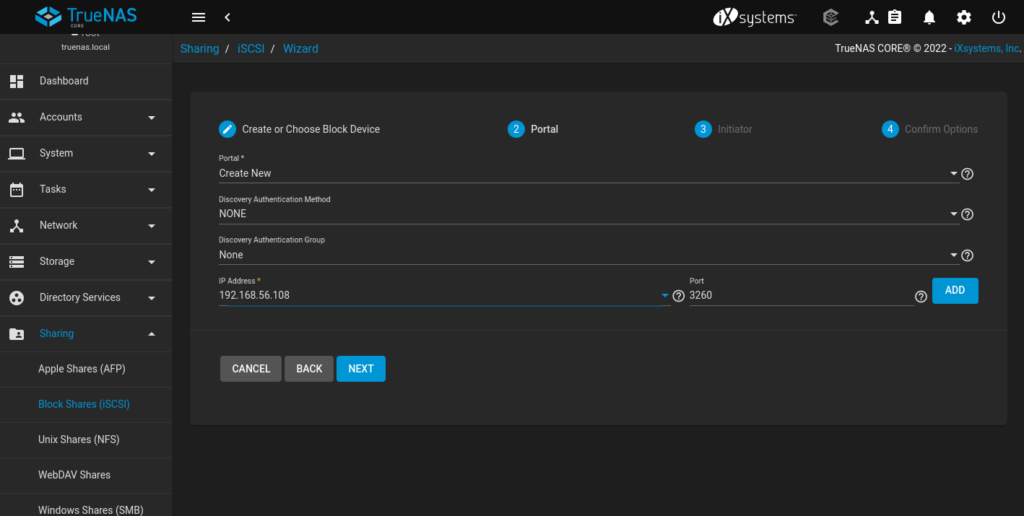
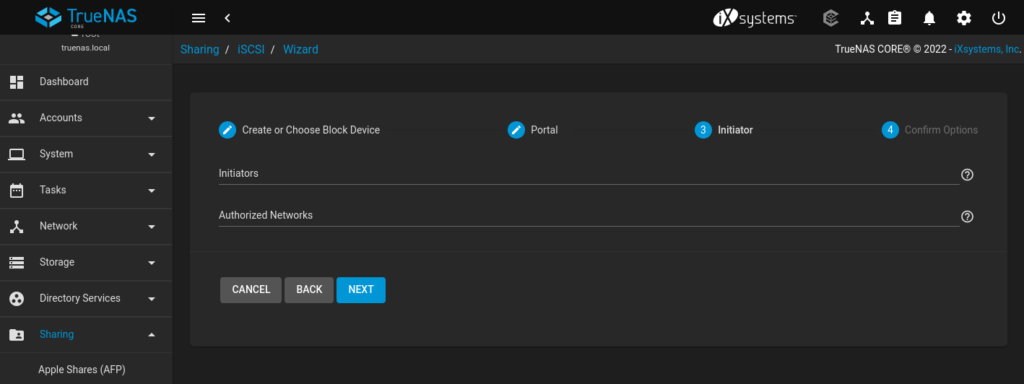
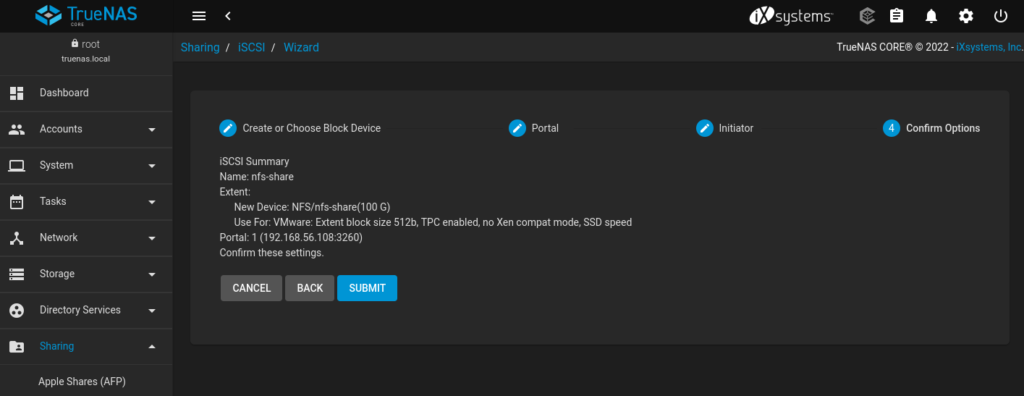
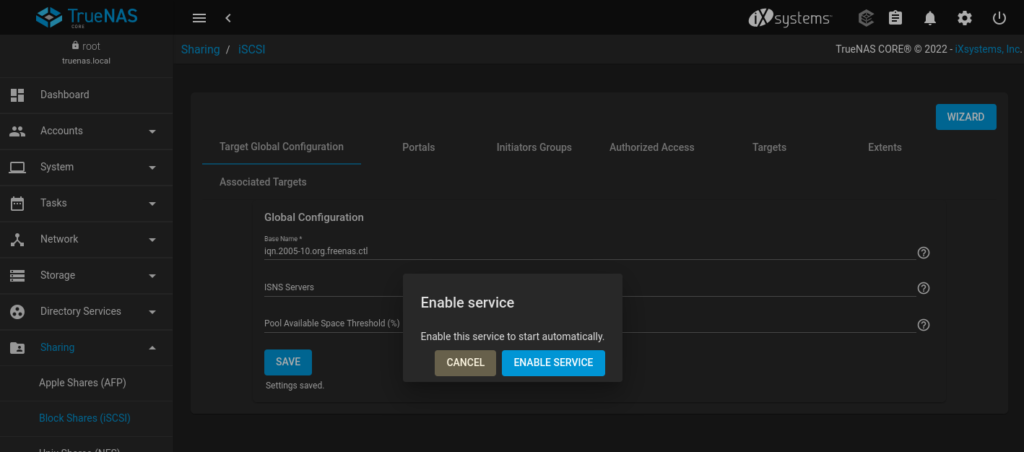
9:- Share pool as SCSI (Sharing -> Block Shares iSCSI -> Wizard):
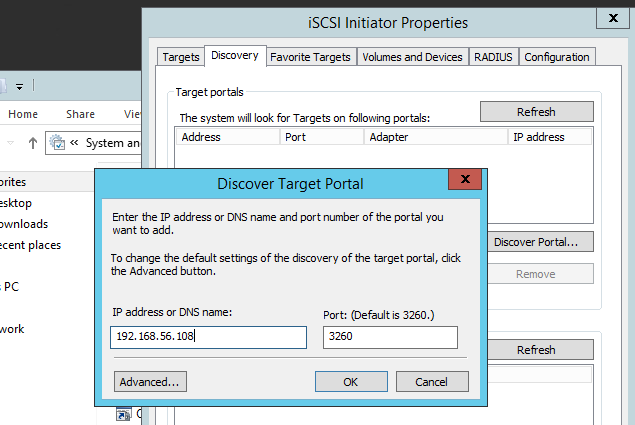
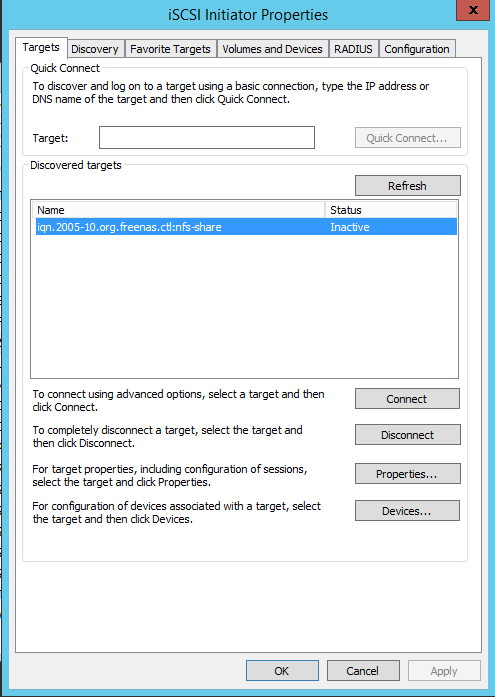
10:- Discover SCSI device in all 3 servers (Administrative Tools -> iSCSI Initiator):
IF you don’t want to share the POOL as SCSI (points 9 and 10), we can share as SAMBA share:
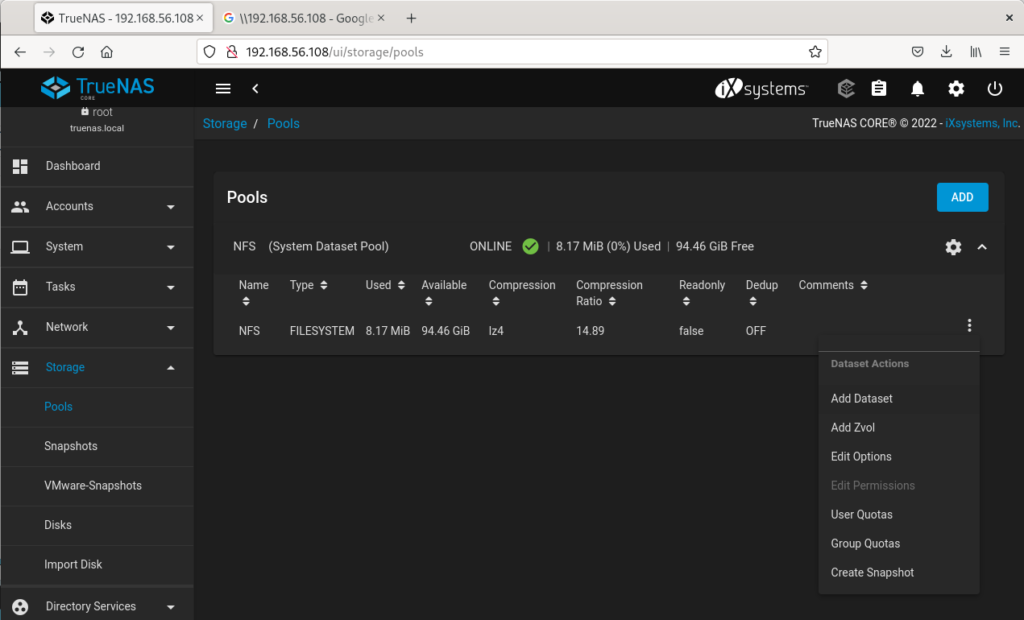
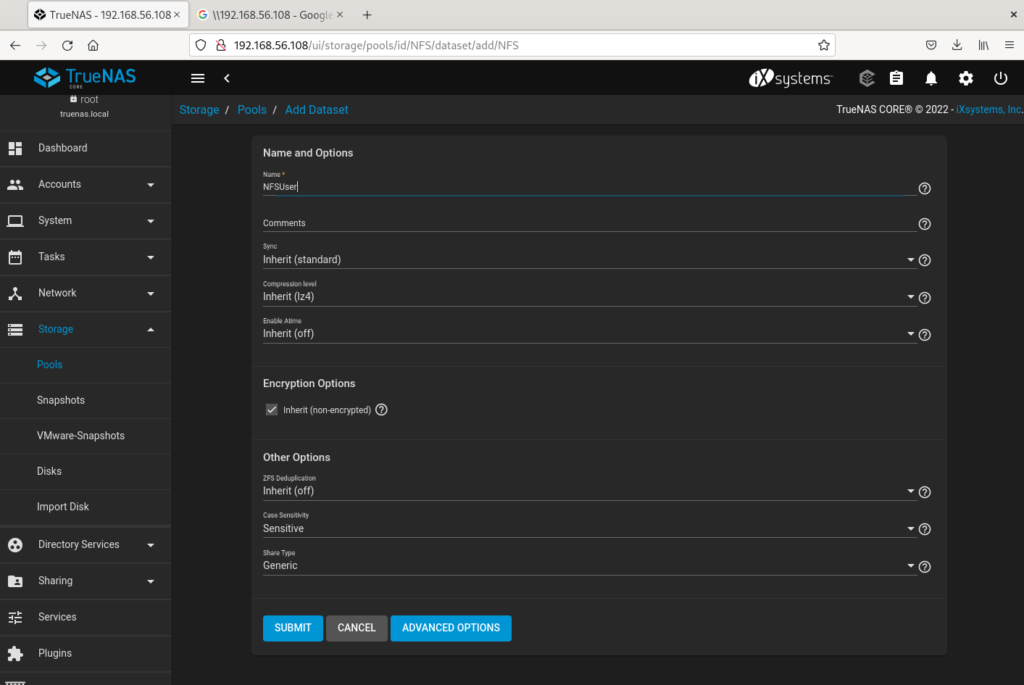
11:- Create a Dataset (From the pool created -> Add Dataset)
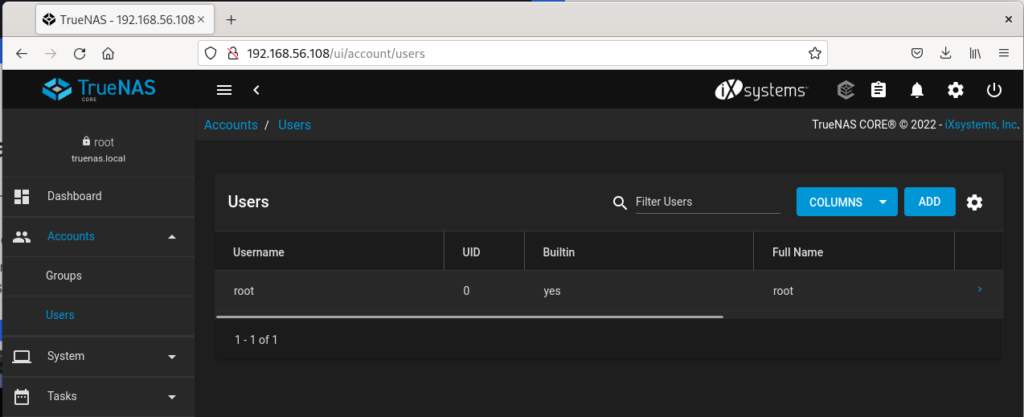
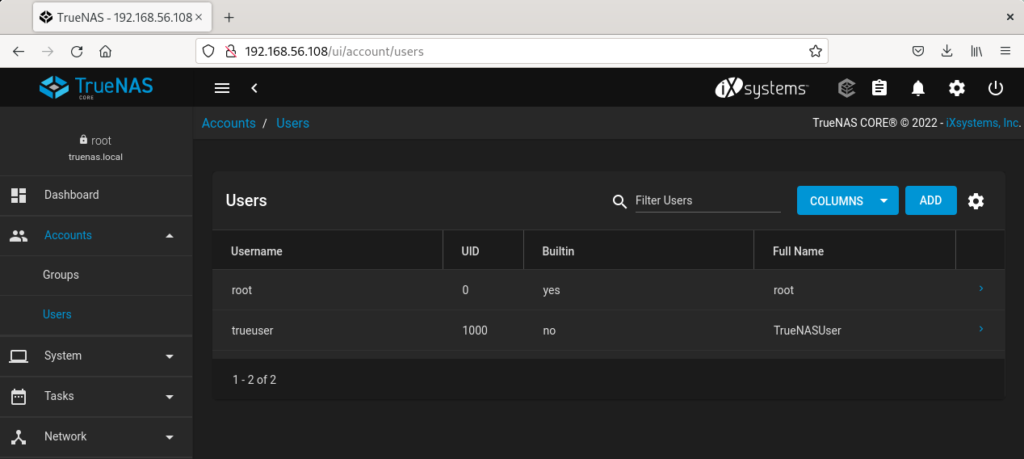
12:- Create a USER (for example trueuser):
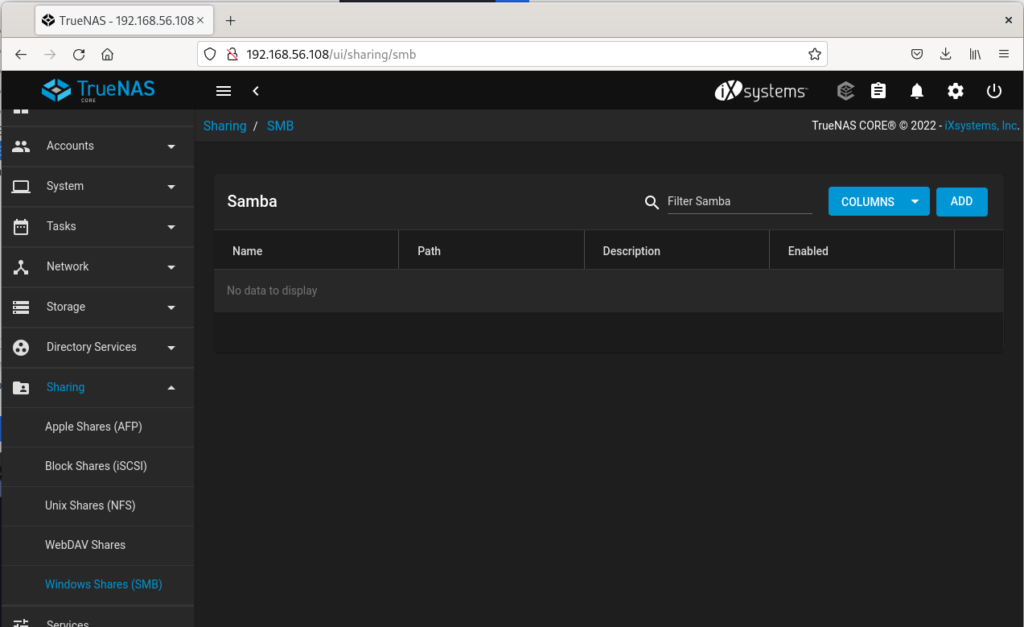
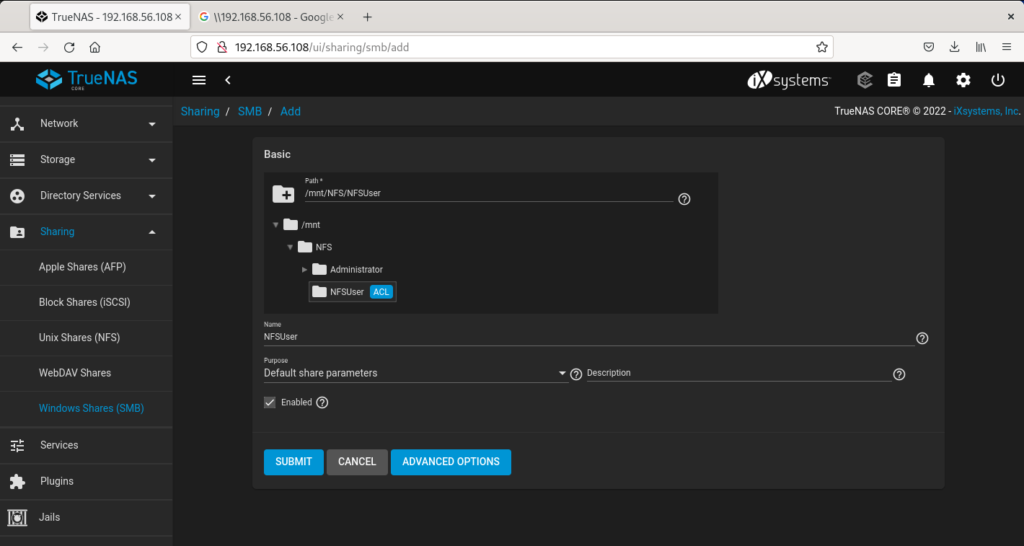
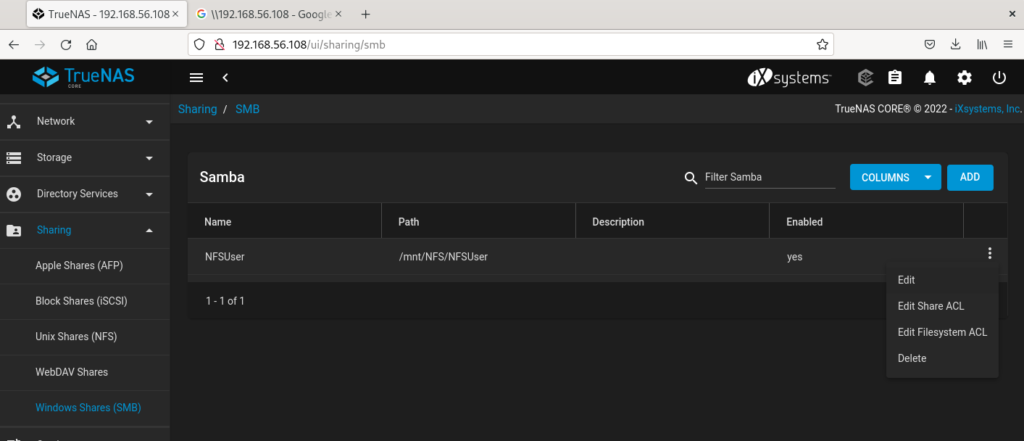
13:- Share Dataset via SAMBA:
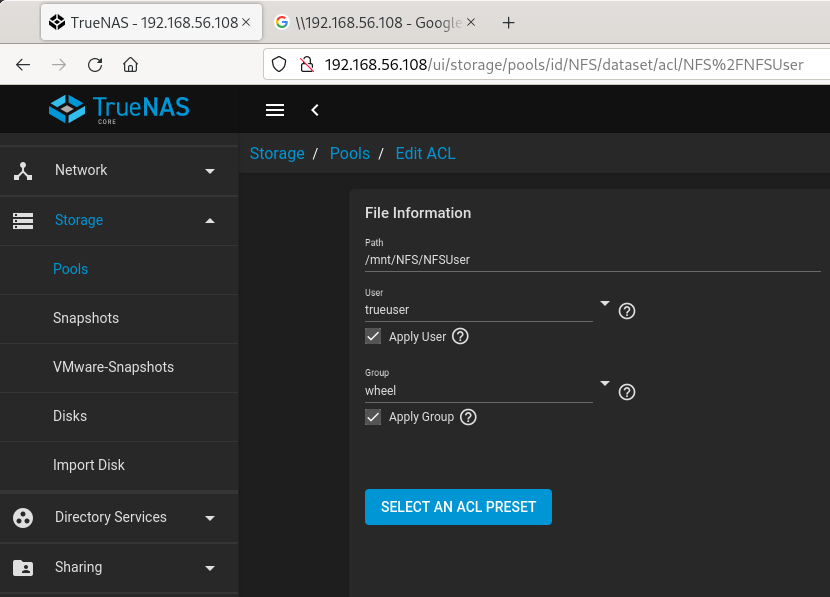
14:- Edit Filesystem ACL:
15:- Make sure time is correct on TrueNas server, if not, you might get these errors:
[root@truenas ~]# tail -f /var/log/samba4/log.smbd
[2248/04/05 21:52:56.461145, 1] ../../auth/ntlmssp/ntlmssp_server.c:712(ntlmssp_server_preauth)
ntlmssp_server_preauth: challenge invalid (expired 1969/12/31 16:00:00.000000) for user=[trueuser] domain=[WIN-RAC2] workstation=[WIN-RAC2]
[2248/04/05 21:52:56.507305, 1] ../../auth/ntlmssp/ntlmssp_server.c:712(ntlmssp_server_preauth)
ntlmssp_server_preauth: challenge invalid (expired 1969/12/31 16:00:00.000000) for user=[trueuser] domain=[WIN-RAC2] workstation=[WIN-RAC2]
[2248/04/05 21:53:40.796698, 1] ../../auth/ntlmssp/ntlmssp_server.c:712(ntlmssp_server_preauth)
ntlmssp_server_preauth: challenge invalid (expired 1969/12/31 16:00:00.000000) for user=[trueuser] domain=[WIN-RAC2] workstation=[WIN-RAC2]
[2248/04/05 21:53:40.843315, 1] ../../auth/ntlmssp/ntlmssp_server.c:712(ntlmssp_server_preauth)
ntlmssp_server_preauth: challenge invalid (expired 1969/12/31 16:00:00.000000) for user=[trueuser] domain=[WIN-RAC2] workstation=[WIN-RAC2]
[2248/04/05 21:53:40.892958, 1] ../../auth/ntlmssp/ntlmssp_server.c:712(ntlmssp_server_preauth)
ntlmssp_server_preauth: challenge invalid (expired 1969/12/31 16:00:00.000000) for user=[trueuser] domain=[WIN-RAC2] workstation=[WIN-RAC2]
[root@truenas ~]# date
Wed Apr 5 21:56:17 PDT 2248
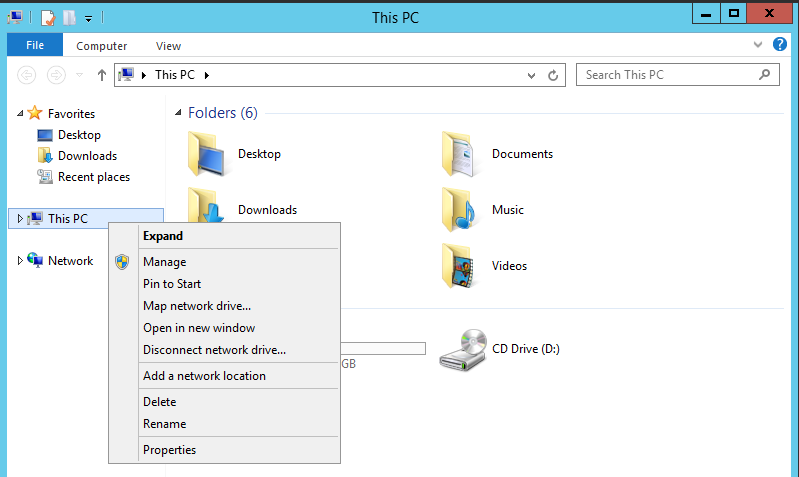
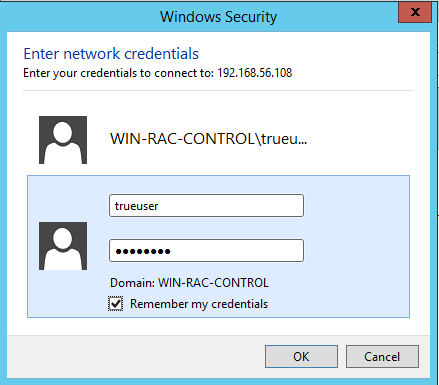
[root@truenas ~]# 16:- Connect each of the Clients/Guess:

After this, share is accessible from all the servers. Done!
Comments